Maintain Payment Accounts
Topics
* Overview
Overview
In order to schedule and make payments in iPayOnline, you must set up one or more bank accounts from which to retrieve the payment amounts.
One bank account must be designated as the Default Account, which is the account that will be used for making payments, unless another is specified. When adding the first bank account, it will automatically be added as the default account.

When adding a subsequent account, you may designate it as the default, which will automatically remove the designation from the other account.
Add Bank Account
For each bank account that is added, you must give iPayOnline authorization to use that account for payment. Once authorization is given, it cannot be revoked for that account. You will have to delete the account to revoke authorization.
To Add a Bank Account:
Tips before Starting
* The Account Name is a nickname that you enter and can include letters, numbers, and special characters. Choose a unique nickname for each Account Name in order to easily identify it when multiple accounts exist. Nicknames can be changed at any time.
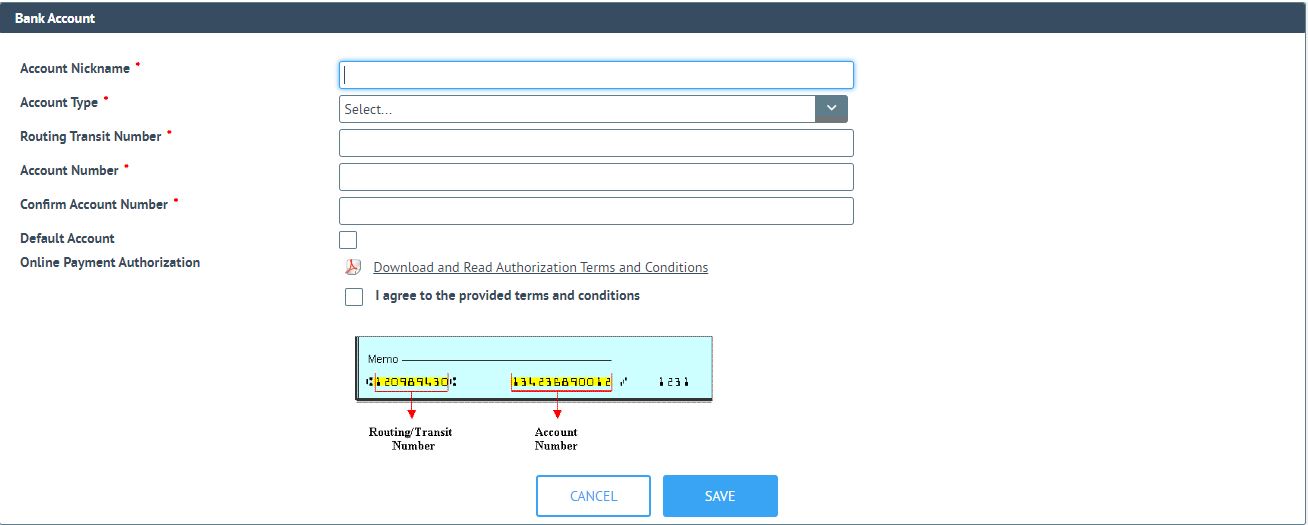
* Have a copy of the check from the bank account being added to obtain the routing and account numbers. The Routing/Transit Number will be authenticated to ensure that it is a valid routing number before the account is successfully added.
* When adding more than one bank account, make sure to specify the one you want as the default.
* All fields marked as required * must have an entry.
1. Go to the Maintenance Management tab from the iPayOnline main menu.
2. Select Bank Accounts from the Maintenance Management menu.
3. Click on the "New" Button.
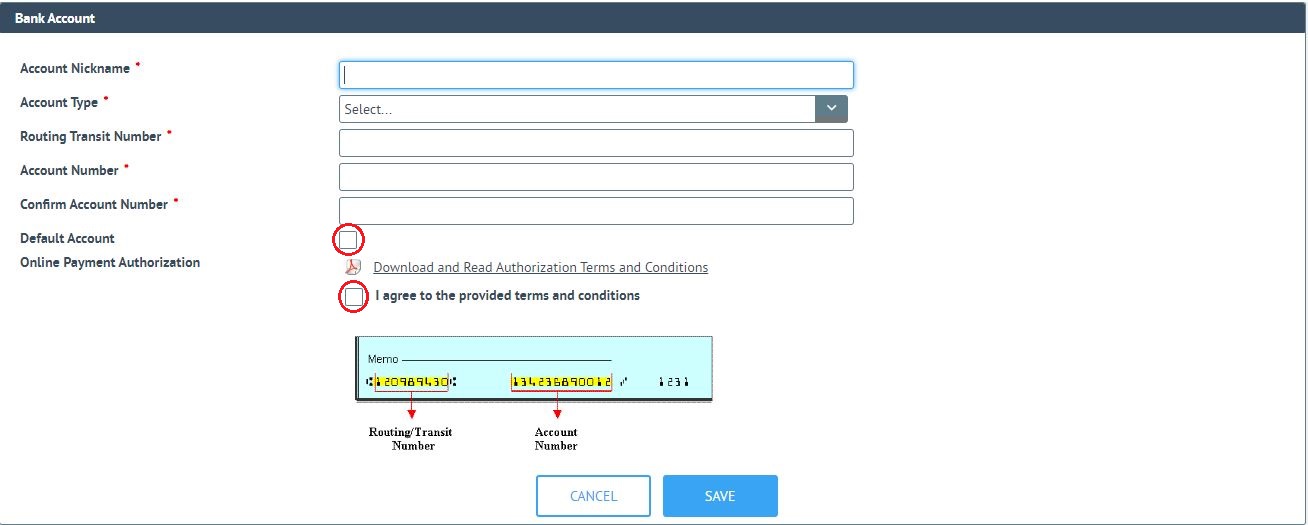
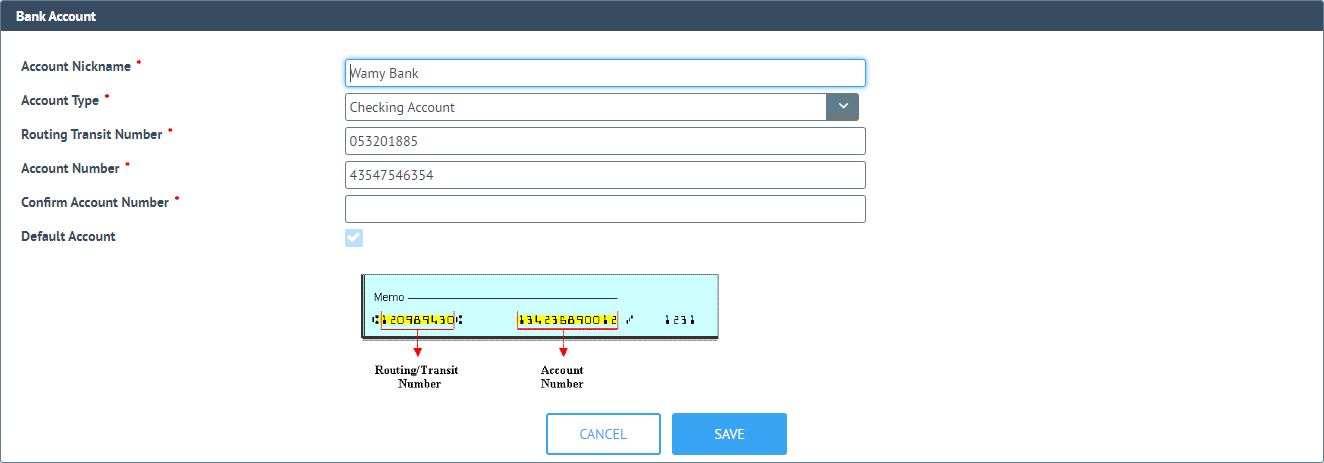
4. Enter all bank account information.
5. Review the Terms and Conditions of the Online Payment Authorization. Click the I agree box to accept the stated terms and conditions.
Agreement is required for the bank account to be used for payment retrieval. An attempt to submit without checking this box to confirm agreement will result in a message indicating that agreement is needed before proceeding.
If you do not accept the terms and conditions, exit without adding the bank account.
6. Click Save to add the new bank account or exit to terminate the add request
If you receive no errors the bank account was successfully added and it will display in the list of accounts.
7. Repeat the process to add additional accounts. Each bank account will display in the list with only the last four digits of the Account Number visible.
View/Change Bank Account
Once a bank account is added, its information may be viewed, edited, or deleted by selecting it from your list of Bank Accounts. In order to view the entire Account Number, you must click on the Account Name.
To View or Change a Bank Account:
1. Go to the Maintenance Management tab from the iPayOnline main menu.
2. Select Bank Accounts from the Maintenance Management menu.
3. Click on the account name of the desired bank account. The account information will display for viewing.

If no changes are needed, the display will disappear when another iPayOnline option is selected.
4. Make changes to the displayed account information, overwriting any existing information with the desired changes, making sure that all required * fields still have a valid entry.
5. Choose one of the following options to complete the edit request:
* To save all changes and close the Edit window, click Save.
* To cancel the changes and close the Edit window, exit the window without saving.
Delete Bank Account
A bank account may be removed at any time by deleting the account from the list of available bank accounts. All pending payments against this account, which are scheduled payments not yet submitted to the bank, will also be deleted. Any payments already submitted to the bank will not be affected.
To Delete a Bank Account:
Tips before Starting
* Review Pending Payments before actually deleting the account as a visual verification.

1.
Click on the Delete ![]() icon next to the
bank account you wished removed from your iPayOnline account.
icon next to the
bank account you wished removed from your iPayOnline account.
2. Click OK in response to the following confirmation prompt.
If you decide not to delete the account, click Cancel.


